Last year I shared a picture of my VHS Christmas tree constructed with nothing but video tapes and a lot of love. While I was building this year’s edition I decided to document the process so you can build your own. It’s pretty self-explanatory just by looking at it, and I know there are other methods/styles of tree, but this is MINE.
Before you start following this guide to the letter, know that the finished product used close to 330 tapes and stands at around 52 inches tall. So you’ll need a decent amount of space and a BUNCH of tapes. Here’s the short and sweet of it:
Building a Base
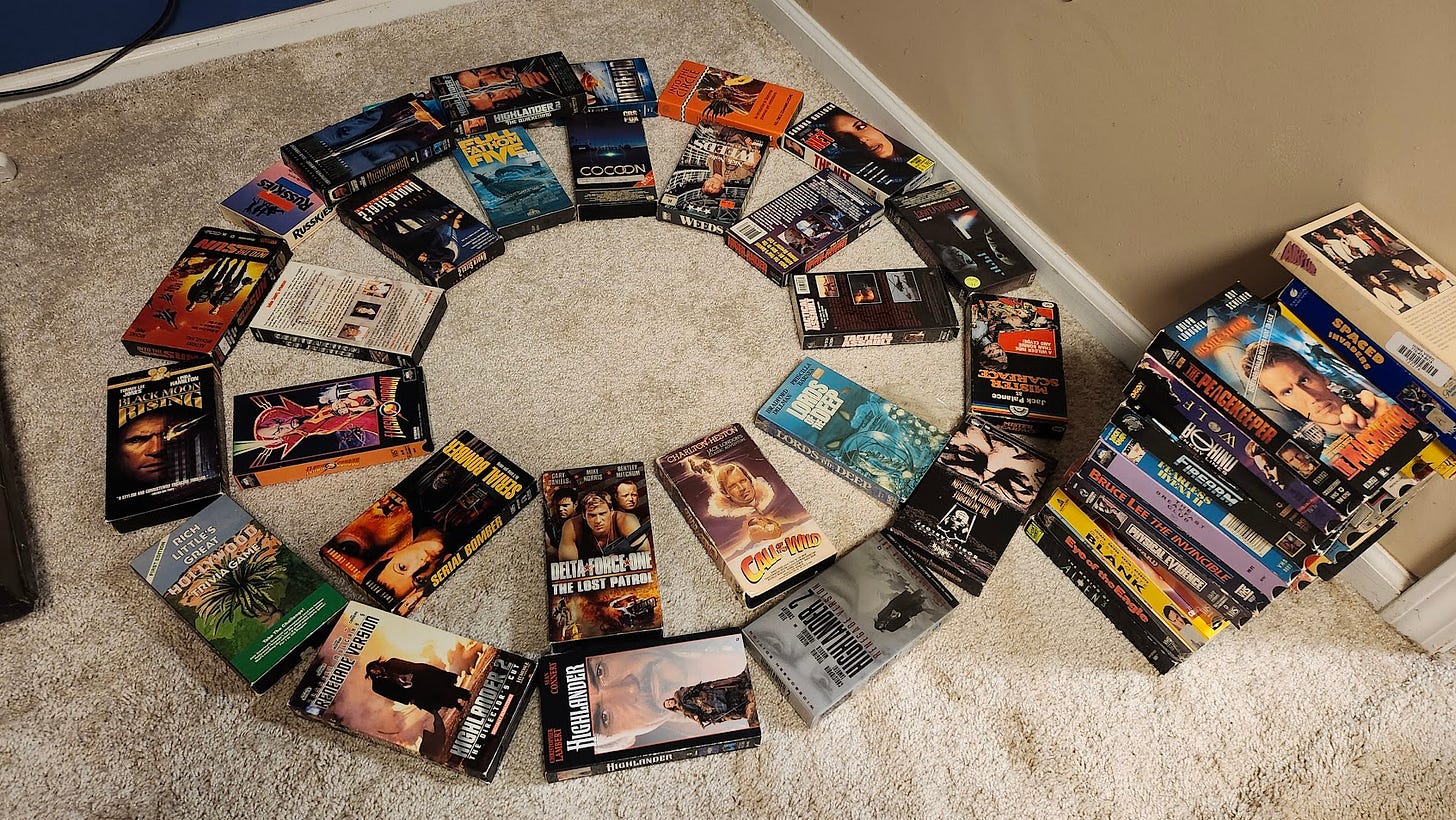
Other than a killer topper, the base is the most important part. Use this to determine how large your tree is going to be. My outer ring used 14 tapes laying horizontally with an inner ring we’ll need for building the supporting structure using 12. You can leave space inside and pray yours doesn’t collapse, you can fill it chock-full of tapes, or you can do what I did and fill the inner space with structural support not made from tapes (pic to come). Once you get the base to your liking, start stacking!
My initial ring was only one tape tall, but in hindsight, I could have started stacking 2 or 3 tall, but I was initially worried about the taper. Learn from my build and adjust on your own. After the first ring I did start stacking 2-per. The bottom row is key for structure, but not for looks as these tapes won’t be too visible. Plan for display accordingly.
Make it Structurally Sound
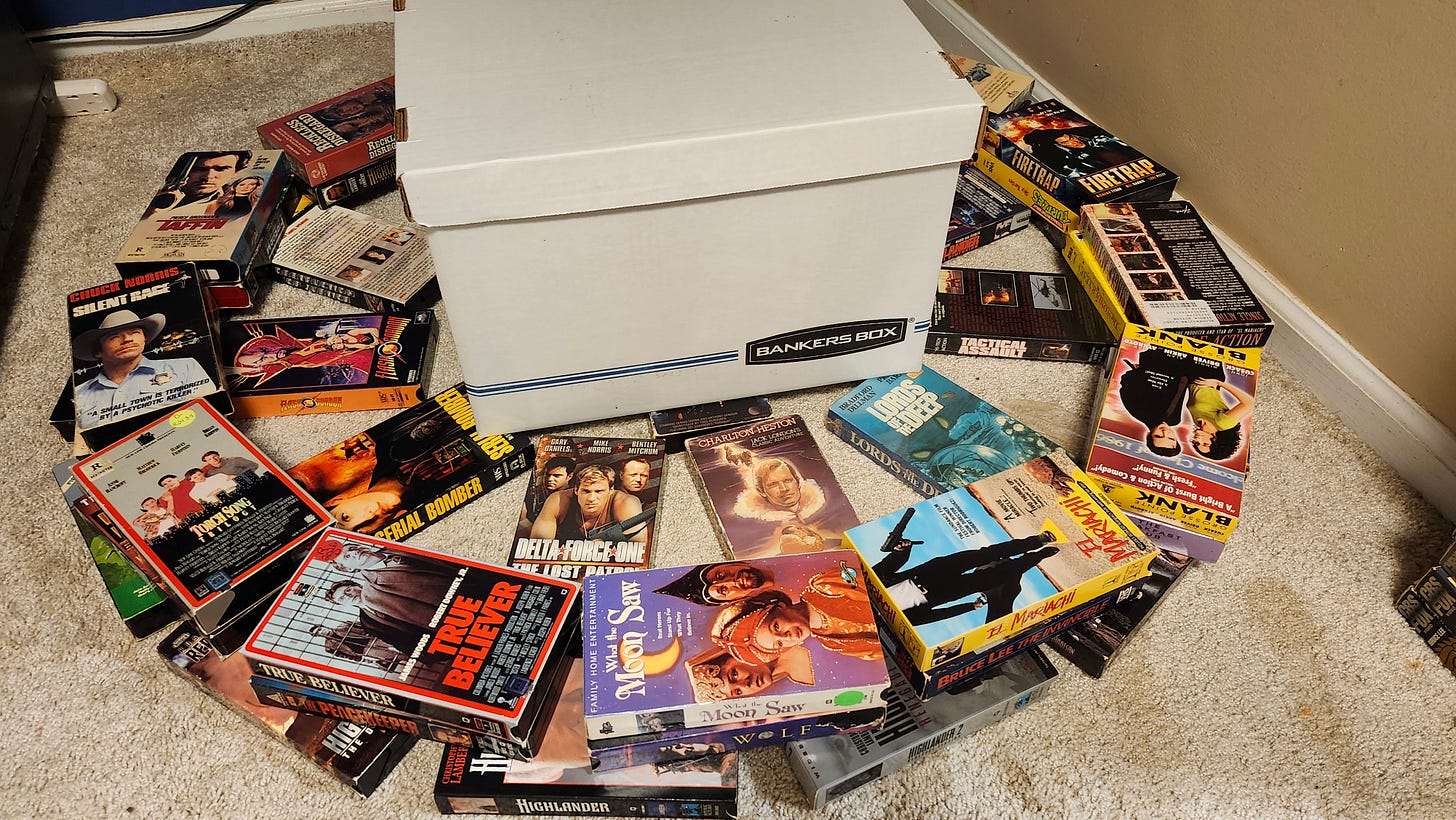
Because my tree was going to be so big and I only wanted to use a few hundred tapes instead of a thousand, I used an empty bankers box (which is what I normally store my excess tapes in anyway) as filler. (Note: It was larger than the hole I made, so I did add a few tapes underneath it to bring it level with the base ring).
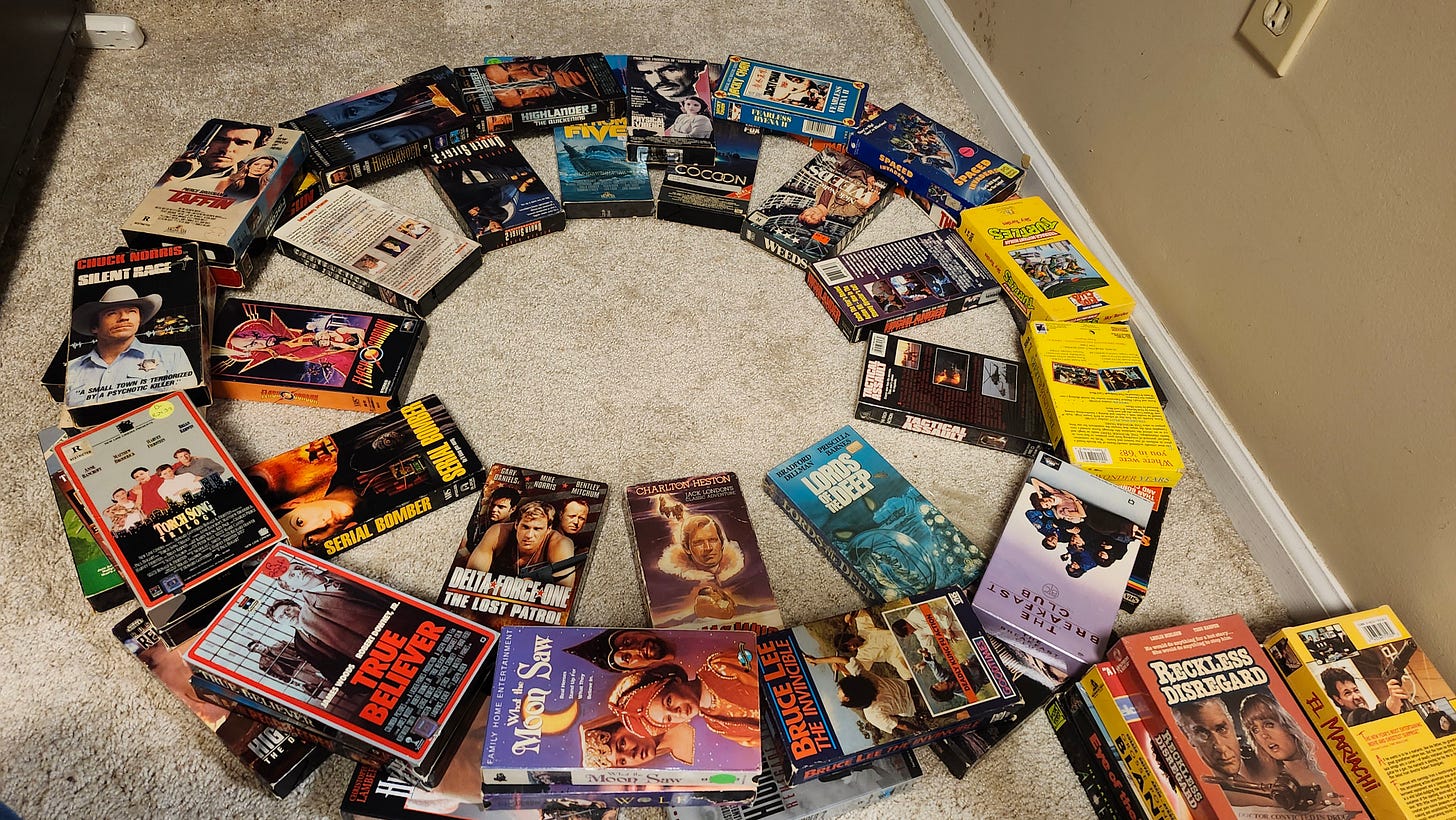
After that, I laid an internal ring of tapes turned on their side and stacked up the perimeter ring to that level making sure to alternate and overlap for each new row. You’ll need this inner ring to balance tapes, so make sure it’s not too far from the outer ring.
A little hard to see in the above picture, but after tapering in and using that newest inner ring for support, I placed ANOTHER inner ring standing up vertically in anticipation of the next level of festive fun. Remember to continue alternating (like laying bricks) where you can.
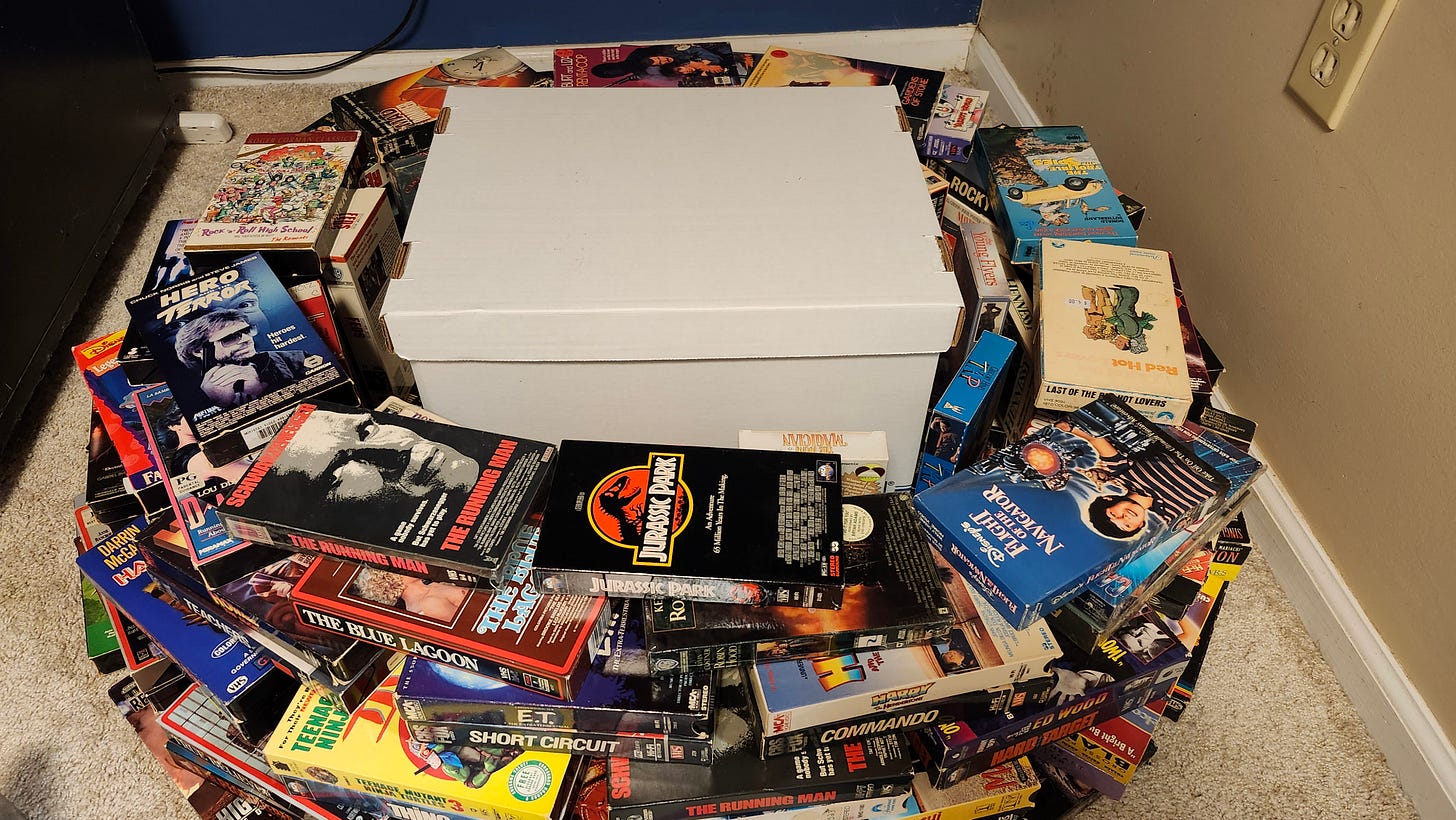
Keep building up layers until you can reach the top of whatever box or supporting structure you have in the center. In the above picture, take notice of the Monty Python and the Holy Grail tape. As your rings get smaller, you may need to turn a tape here and there to make the gaps and overlaps work. Remember, like a real Christmas tree, it doesn’t have to be perfect.
Guess what’s next? Yep. Keep stacking, adding more internal support with whatever you can.
As you build, remember to keep your heavy-hitters toward the front (Wayne’s World, Clue) and your “Slappy and the” Stinkers in the back. Depending on how much access you have, now might be the time to start adding your lights so you can easily maneuver around while you build.
The Cherries on Top
Just like the star tops your average Christmas tree, you’re gonna want to have a star-studded affair for your topper. Pick whatever you like. For me, however, I went with several Christmas classics like Christmas Vacation, and Die Hard (Aren’t I clever? </sarcasm>). My tip-top all-star is my copy of the original MGM big box release of A Christmas Story.
Finish it all in lights and bask in the glow:
“God bless us. Every one.”
Hope this little post helps you build your own tape tree and that your holiday is filled with VHS dreams. Merry Christmas, you filthy animals!


